
7 Tips for Choosing an Automotive Motor Tester

Choosing the right Automotive Motor Tester can save hours of guesswork and prevent costly repeat repairs. A reliable unit helps technicians assess windings, insulation, resistance, and operating behavior with greater consistency. But a crowded dashboard or a long feature list does not guarantee useful results. The test range, accuracy, safety protections, and compatibility with the motors you service matter more.

As [verified automotive motor-testing expert’s name] puts it, “[Insert a verified quotation about accurate, repeatable motor testing].” Add a quotation only after checking its original source; an invented attribution would undermine trust. That caution matters. Even a capable tester can mislead when leads are damaged, settings are wrong, or readings are taken under inconsistent conditions. Small details count. A loose probe can change a reading. So can a warm motor.

This guide presents seven practical tips for comparing testers, from matching measurement functions to your daily workload to checking software, portability, and support. It also considers the less glamorous questions: Can the device withstand a busy workshop? Are its instructions clear? Can you verify its readings over time? No tester removes the need for sound judgment. The best choice is the one that fits your motors, your procedures, and the evidence you need to make a repair decision. Use these points as a checklist, then compare the specifications against real jobs in your shop.
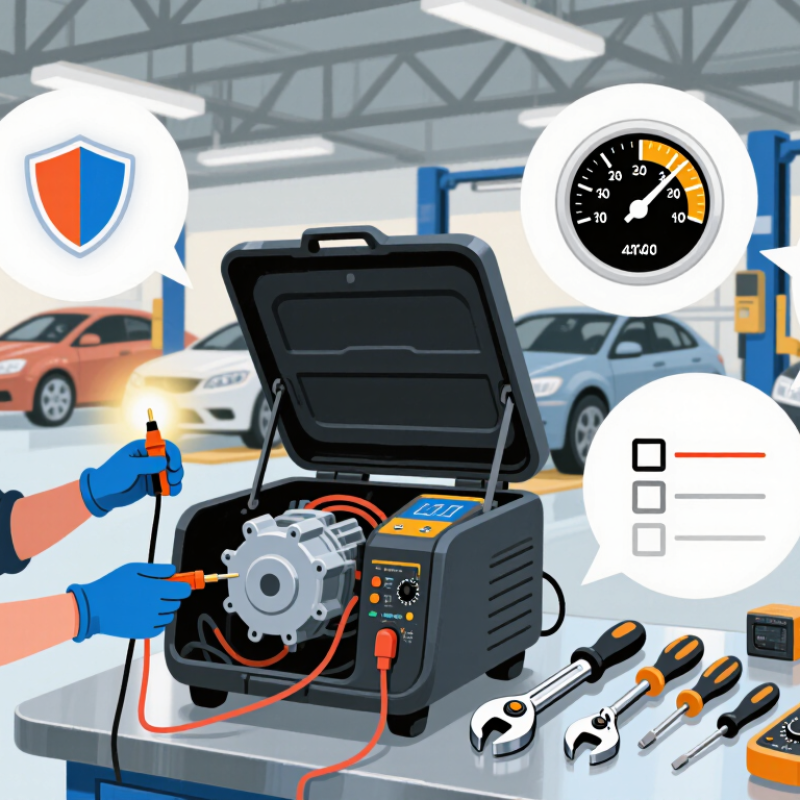
7 Tips for Choosing an Automotive Motor Tester

Understanding Your Automotive Motor Testing Needs

Before choosing an automotive motor tester, define what you need to diagnose. Are you checking starter motors, alternators, small electric motors, or several systems? A tester suited to one task may not measure another accurately. Be specific.

Consider the vehicles you service and the conditions around your work. A busy workshop may need quick readings and durable leads. Home diagnostics may call for a simpler unit with clear instructions. Check that the tester supports the voltage range and measurements required for your vehicles. Small details matter. Cable length, display readability, and probe access can affect a test beside a crowded engine bay.

Think about the results you need to trust. Some testers show basic voltage or resistance; others provide more detailed readings. Match the features to your actual diagnostic process, not an impressive-looking specification sheet. It is easy to overbuy. I would also check the manual before purchase, especially for connection steps and measurement limits. A wrong setup can produce confusing readings or damage equipment. No tester replaces careful inspection: loose terminals, corroded connections, and a weak battery can all distort results. Your needs may change, too, so leave room for the kinds of motors you expect to encounter later.

Matching the Tester to Motor Types and Vehicle Systems

A useful automotive motor tester must match both motor design and vehicle architecture. A starter motor, 12-volt alternator, and high-voltage traction motor have different test needs. Brushed DC units call for checks of winding continuity, brush wear, and current draw. Induction and permanent-magnet synchronous motors need suitable three-phase drive, speed feedback, and phase-current measurement.

Fit matters. A tester that only spins a motor may miss inverter faults or resolver errors. Match its voltage range, current capacity, sensor inputs, and supported test sequences to the system being serviced.

This distinction is increasingly practical. The International Energy Agency’s Global EV Outlook 2024 reports nearly 14 million electric-car sales worldwide in 2023, about 18% of new-car sales. That growth brings more traction motors, inverters, and thermal-control interfaces into service bays, alongside conventional starter-generator systems.

For a hybrid, confirm the tester supports its motor-generator layout and appropriate measurements. For a 48-volt mild hybrid, verify compatible voltage and current limits. Not just voltage. Check whether the tool reads Hall sensors, encoders, or resolvers, and whether its load test reflects operating conditions. A neat display can still hide a poor test profile. Compatibility lists may lag behind vehicle updates, so verify pinouts and service procedures before testing, especially on high-voltage systems.

Comparing Diagnostic Functions, Accuracy, and Data Display

7 Tips for Choosing an Automotive Motor Tester

An automotive motor tester should help you identify faults, not just display codes. Compare its diagnostic functions with the motors and systems you actually service. Some tools check voltage, current, and resistance; others add waveform views or guided test steps. More features are not always better. A complicated menu can slow down a routine check.

Tip 1: Check the test range. Confirm that the tester supports the expected voltage and current levels.

Tip 2: Look for repeatable readings. Accuracy matters when comparing measurements across test runs, but probe contact, temperature, and battery condition can affect results.

Tip 3: Ask how readings are verified. A second measurement with a suitable meter can reveal a poor connection or an unexpected result. Small details matter.

Tip 4: Examine the data display before buying. Clear units, readable labels, and a stable waveform make results easier to interpret in a dim workshop.

Tip 5: Check whether live data can be paused, saved, or compared. This helps when a motor fault appears only under load.

Tip 6: Prefer simple navigation.

Tip 7: Review the manual’s measurement limits and setup guidance. A bright screen cannot compensate for a misconnected lead, and I’d be cautious about trusting one unusual reading without checking the test conditions.

Checking Compatibility, Safety Features, and Ease of Use

Choosing an automotive motor tester starts with compatibility. Check its supported voltage range, connector types, and test functions against the vehicle and motor you service. A tester designed for basic 12-volt circuits may not suit every control system. Read the specifications carefully. If possible, compare the tester’s leads with the connectors on your vehicle before buying. Small details matter.

Safety features deserve equal attention. Look for insulated probes, overload protection, and clear warnings for incorrect connections. For hybrid or electric vehicles, confirm that the tool is specifically rated for the system you intend to test, and follow the vehicle’s service guidance. Never assume a familiar-looking cable is safe. I still double-check. A blown fuse or damaged lead can turn a quick check into a costly interruption.

Ease of use affects the quality of your readings. A clear display, labeled controls, and flexible leads make it easier to work in a dim garage or around a crowded engine bay. Try the menu before purchase if you can. Some testers offer many functions, but a confusing interface slows diagnosis. I would rather have fewer reliable tests than a screen full of options I rarely use. It is easy to overlook that.

Choosing an Automotive Motor Tester: Insulation Test Voltage Compatibility

Compare a tester’s available insulation-test voltages with the motor’s rated winding voltage. The ranges shown are IEEE 43-2013 recommendations; always follow the motor manufacturer’s instructions and applicable safety procedures.

Bars show the recommended DC test-voltage range in volts. For windings rated below 1,000 V, the recommendation is 500 V.

Evaluating Durability, Support, and Overall Cost

A motor tester can feel solid in a showroom and still struggle in a busy workshop. Check the casing, connector strain relief, and lead flexibility. If possible, handle the probes with gloves and inspect how firmly they lock into place. Small parts fail first. A protective case helps, but it cannot compensate for weak cables or loose sockets.

Support deserves the same attention as the hardware. Ask how quickly technical questions are answered, whether replacement leads are available, and how repairs are handled. Clear manuals and useful troubleshooting guidance can save time when a reading seems inconsistent. I have learned not to assume every fault is the tester’s fault; a poor ground connection can mislead even an experienced technician. Still, support should help you find the cause, not just point to a manual.

Compare the full cost over several years, not only the purchase price. Include calibration, accessories, replacement probes, repair fees, and downtime if the unit needs service. A cheaper tester may cost more when a missing lead delays a diagnostic job. Check warranty terms carefully, especially what counts as normal wear. I sometimes overlook small service charges, and they add up. A simple cost sheet makes those trade-offs easier to see.

7 Tips for Choosing an Automotive Motor Tester - Evaluating Durability, Support, and Overall Cost
Tip What to Evaluate Practical Checks Why It Matters
1. Match the tester to the motors you service Supported motor types, test functions, measurement ranges, and connection options. Confirm that the tester supports the motor types and tests required in your workshop, such as winding resistance, continuity, insulation resistance, or phase comparison. Check required adapters and lead sets. A tester that lacks a required function or suitable range may require additional equipment or limit the jobs it can handle.
2. Check electrical safety ratings Voltage limits, measurement category, input protection, and ratings for supplied leads and accessories. Compare the instrument and its accessories with the electrical environment and test procedure. Follow the manufacturer’s instructions, and never apply an insulation test to connected electronics unless the procedure specifically permits it. Appropriate ratings and correct test procedures help reduce the risk of electric shock, equipment damage, and invalid results.
3. Assess durability for workshop use Enclosure construction, display protection, connector strength, ingress protection, and stated environmental limits. Look for published specifications and warranty terms. Check whether the case, ports, and leads are suited to the expected handling, dust, moisture, temperature, and transport conditions. Durability affects downtime and replacement frequency, but claims should be verified against documented specifications rather than appearance alone.
4. Verify accuracy and calibration arrangements Published accuracy, measurement resolution, calibration interval guidance, and availability of traceable calibration. Review the accuracy specifications for the measurements you rely on. Ask whether calibration certificates, service records, and recalibration support are available and what they cost. Reliable readings support consistent diagnosis. Calibration needs can also add recurring time and expense.
5. Evaluate usability and workflow Controls, display readability, test setup, result storage, reporting, and user guidance. Have intended users perform representative tests. Check whether results can be saved or exported and whether the interface clearly identifies test conditions and units. A clear workflow can reduce setup errors and make it easier to compare results over time or share findings with customers.
6. Review technical support and service Documentation, training, troubleshooting access, repair options, spare parts, and warranty coverage. Confirm how support is provided, typical service procedures, warranty exclusions, and whether compatible leads or accessories can be replaced separately. Accessible support and repair options can reduce disruption if the tester fails, needs calibration, or is used incorrectly.
7. Compare total cost of ownership Purchase price plus accessories, calibration, training, repairs, software, and expected replacement costs. Build a cost estimate for the expected period of use. Include any required adapters, consumables, calibration, service fees, and costs for data-management features. The lowest purchase price is not always the lowest long-term cost; compare equivalent capabilities and support requirements.
Optimized by Optimole